How to Master AI Video Editing for Social Media
AI video editing for social media is changing the game for product sellers. In just a few clicks you can turn a single product photo into a scroll‑stopping short that feels like it was shot by a pro.
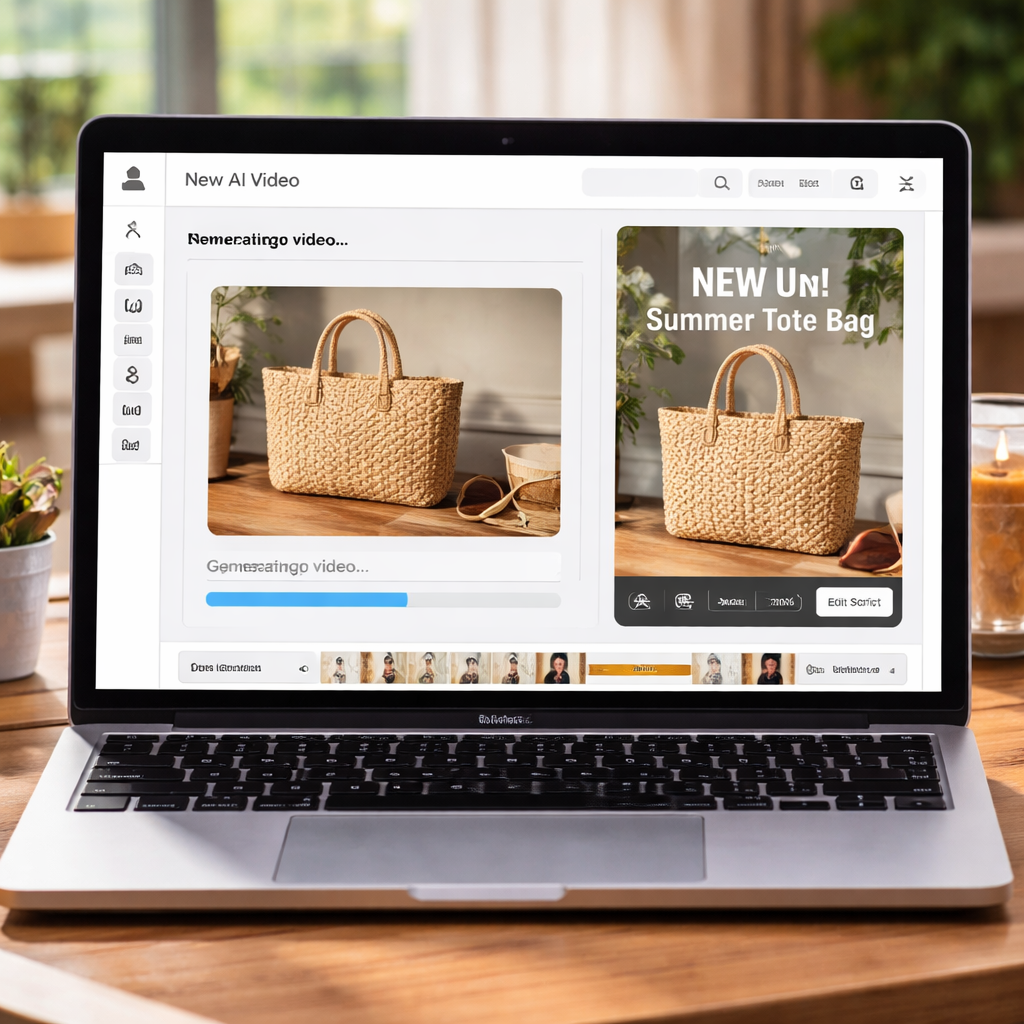
Imagine you run a small candle shop. You snap a picture of a new scent, feed it to an AI tool, and get a 15‑second clip showing the candle flickering, a cozy room vibe, and a quick caption overlay. No camera crew, no editing suite.
Here’s a quick way to do it: 1) Choose the product image that shows the key detail. 2) Pick a template that matches the platform – Instagram Reels, TikTok, or Facebook Stories. 3) Add a short hook line and let the AI animate the scene. 4) Review the output, tweak the text, then publish.
Many ecommerce owners find that adding a moving visual boosts engagement more than a static photo. A common tip is to keep the video under 30 seconds and focus on one benefit – like “smells like fresh rain” for a candle – so the message lands fast.
If you’re worried about privacy, you can read our privacy policy to see how data is handled.
For a completely different angle, check out the Photo Booth Rental for Graduation Party: A Step‑by‑Step Guide. It shows how visual content can be repurposed for celebrations, which is useful when you want to showcase your product in a festive setting.
Start by picking that one photo you love, run it through an AI editor, add a punchy caption, and watch the likes roll in.
Step 1: Choose the Right AI Editing Tool
Picking the right AI editing tool can make or break your social feed. A bad tool wastes time. A good tool puts a product video together in a few clicks.
First, look for a platform that works with a single product image. It should let you pick a template that fits Instagram Reels, TikTok, or Facebook Stories. It should let you add a short hook line and then let the AI animate the scene.
Second, check how the tool handles your data. Privacy matters for ecommerce owners. A clear privacy policy helps you feel safe.
Third, think about how the tool fits your workflow. Does it let you export straight to your social scheduler? Does it support the right aspect ratios for each channel? These answers save you a step later.
After you see the demo, run a quick test with your own product photo. Keep the video under 30 seconds. Focus on one benefit – like “smells like fresh rain” for a candle.
Pro tip: keep your thumbnail simple and show the product front-and-center. A clear image draws the eye and boosts click-throughs.
When the preview looks good, hit export and drop the clip into your scheduler. If you need extra polish, many tools let you tweak text or add captions before publishing. Platforms like Pocket Director AI let you do all this in three clicks, so you spend less time editing and more selling. You can also add a subtle brand logo in the corner to reinforce identity without distracting the viewer.
Step 2: Set Up Your Project for Quick Edits
Now that you have a template, it’s time to set up the project so you can make fast edits.
First, give the project a clear name. A name like “Candle‑June‑Launch” lets you spot it in the dashboard without hunting.
Next, upload the exact image you want to animate. Keep the file size under 5 MB so the AI can process it in seconds.
Then, add your hook line in the caption box. Keep it under 15 words; the shorter it is, the easier it is to read on a phone.
Tip: Turn on the “auto‑trim” option if the tool offers it. It will cut silent frames at the start and end, saving you a manual trim later.
Now check the timeline view. Drag the ends of the clip a pixel or two to tighten the start and finish. Most platforms let you do this with a simple click‑and‑drag.
Finally, hit the preview button. Watch the clip on a mobile mock‑up. If the motion feels jittery, use the “smooth” slider to calm it down.
If you’re worried about how your files are stored, read our privacy policy.
| Step | Action | Quick tip |
|---|---|---|
| 1 | Name the project | Use a short, descriptive label. |
| 2 | Upload image | Stay under 5 MB for speed. |
| 3 | Add caption | Keep it under 15 words. |
| 4 | Trim timeline | Drag ends a pixel for tight cuts. |
| 5 | Preview | Check on a phone mock‑up. |
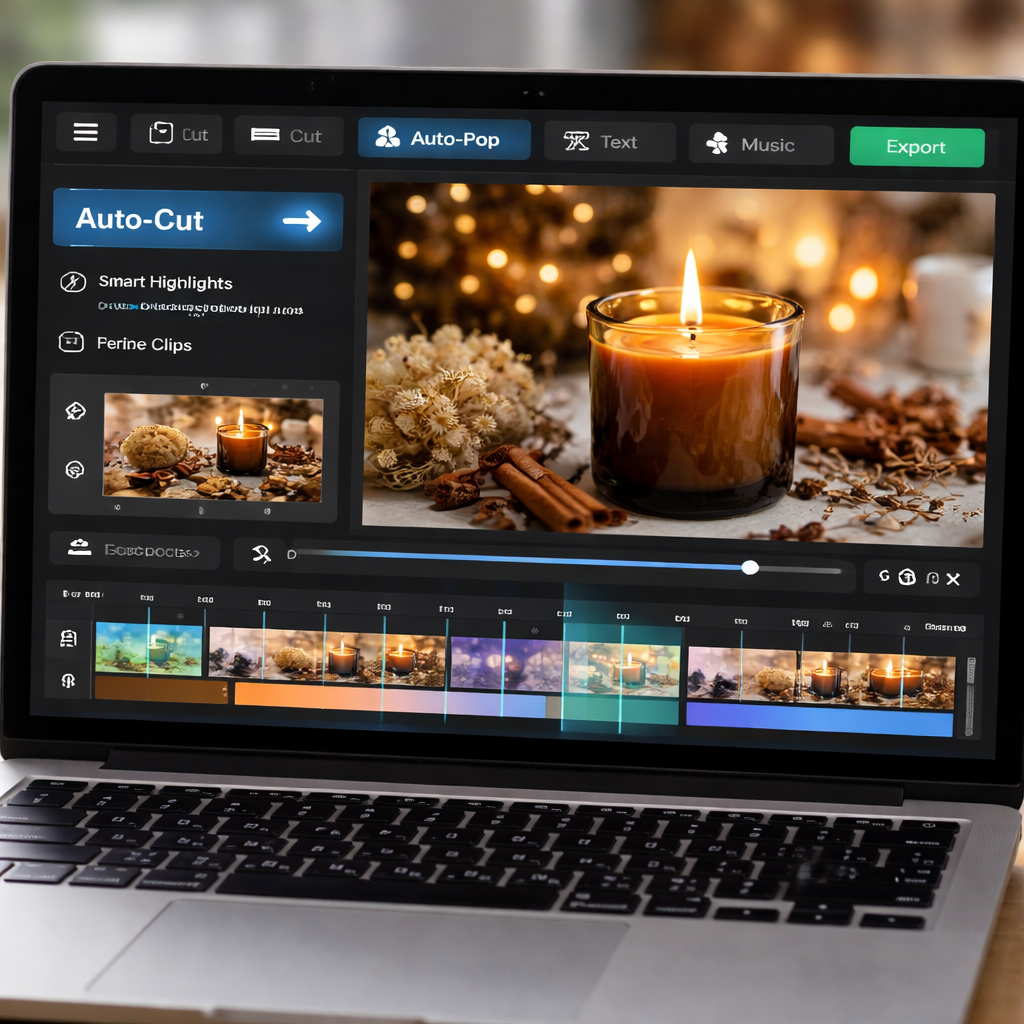
Step 3: Automate Cutting and Highlight Selection
Now the video is in the timeline, it’s time to let the AI do the heavy lifting.
Turn on the auto‑cut feature if your tool offers it. The AI scans each frame, finds silent spots, and trims them in one click.
Next, set the highlight range. Choose the part of the clip where the product shines – maybe the candle flame flickers or the label glows. Use the slider to mark start and end; the AI will keep only that slice.
If you want a quick peek, hit the auto‑preview button. It renders a short loop so you can see if the cut feels smooth. Adjust the “ease‑in” knob if the motion looks jumpy.
Pro tip: lock the highlight once you’re happy. That stops the AI from re‑cutting when you later add music or captions. It saves a few extra clicks. You can read the privacy policy for more details.
Now you’ve got a tidy clip ready for the next step – adding music and a punchy caption. The rest of the workflow stays fast and simple.
Many solo founders love the batch mode. Once you set up one cut, you can copy the settings to other product videos. That way you keep a consistent look across Instagram Reels, TikTok, and Facebook Stories without re‑doing the work each time.
Give it a try on your next candle launch. You’ll see how the AI can shave minutes off editing and keep the focus on the product.
A clean cut also helps the algorithm notice your video faster, boosting reach. That extra polish can make the difference between scrolling past and stopping to watch.
Step 4: Add Branded Elements Efficiently
Now the clip is clean, it’s time to give it your brand voice.
Start with a logo file that has a transparent background. Drag it onto the canvas and snap it to a corner where it won’t hide the candle flame.
Set the opacity to about 80 % so it’s visible but not loud. Most tools let you type a number or slide a bar.
Next, pick your brand colours for text. Use the same hex code you use on your website to keep things tight.
Add a lower‑third that reads something like “Hand‑poured with love”. Keep the font simple – a sans‑serif works well on mobile.
If your tool offers a brand‑watermark option, turn it on and choose a low‑opacity version of your logo. This way every share carries your mark without stealing the spotlight.
Save these settings as a template. Then you can apply the same look to dozens of candle videos in minutes.
Remember to check the privacy policy if you upload any customer images. Keeping data safe is part of a strong brand.
Finally, run a quick preview on a phone mock‑up. Does the logo stay clear when the video loops? Does the text fade at the right moment? Fix any overlap before you export.
A consistent brand look tells shoppers, “this is my favorite candle shop.” It also helps the platform’s algorithm see a clear visual pattern, which can boost reach.
Tip: keep the total added branding under 5 seconds so the product still gets the main focus.
Step 5: Export and Schedule Your Videos
Now the clip looks just right, it’s time to get it off your screen and onto the feed.
First hit the export button. Choose MP4 and set the resolution to the size the platform asks for – 1080 × 1920 works for most Reels and TikToks. Keep the bitrate around 5 Mbps; that keeps the file light but still sharp on a phone.
Give the file a clear name. Something like candle‑june‑launch.mp4 lets you spot it later when you line up a batch of posts.
Next, think about when your audience scrolls. Look at your Insights and pick a slot when views peak – often early evening or lunch break. Most AI tools, including Pocket Director AI, let you set a publish date right in the export dialog, or you can drop the file into a social‑media scheduler.
If you use a third‑party planner, map the video to the same caption you wrote earlier. Double‑check that the link in your caption points to the right product page. A quick test on a phone mock‑up helps you see if the text cuts off.
Finally, hit schedule. The platform will push the video at the exact time you chose, so you don’t have to be at your desk. Set a reminder to watch the first hour of performance – a spike in likes tells you the timing hit the mark.
And don’t forget to review the privacy policy to make sure any customer images stay safe while you share.
FAQ
How does AI video editing for social media work with just one product photo?
When you drop a single image into the tool, the AI reads the shape, colour and texture. It then builds a short clip by adding a moving background, simple animation and a caption layer. You can tweak the text or swap the backdrop in a few clicks. The whole process finishes in minutes, so you get a ready to post video without filming.
Do I need any video skills to use AI video editing for social media?
No. The platform is built for people who know their product better than a camera crew. You just choose a template, type a hook line and let the AI fill the motion. If a part looks off, you can drag the start a frame earlier or change the text. Most solo founders finish the edit in under ten minutes.
What video length works best on Instagram Reels, TikTok and Facebook Stories?
All three apps favour clips that are under 30 seconds. Aim for 12 to 15 seconds if you want a quick hook that holds attention. Keep the core message in the first three seconds, then let the AI show the product in action. Short, snappy videos get more loops and higher watch time scores.
Can I add my own branding without messing up the AI‑generated cuts?
Yes. Upload your logo PNG and set the size to about one tenth of the screen width. Place it in a corner that stays inside the safe zone. Most tools lock the logo across every auto cut, so you don’t have to readd it each time. A simple fade in and fade out keeps the look clean.
How safe is my product image data when I use an AI editor?
The service stores files only for the time needed to render the video, then deletes them. It uses encrypted connections so nobody can intercept the upload. If you’re nervous, check the privacy policy on the provider’s site. Many ecommerce owners feel comfortable because no personal customer data is shared.
How often should I create new videos to keep my audience engaged?
Posting a fresh clip once or twice a week keeps the feed lively without overwhelming followers. Look at your page insights to spot the days with the most views, then schedule the next AI video for that slot. A steady rhythm also helps the platform’s algorithm notice your brand.
Conclusion
That’s the whole picture for ai video editing for social media. You can turn one product snap into a quick, eye‑catching clip in three clicks.
First you pick the right tool, set the size, let the auto‑cut do the work, add a tiny logo, and then push out the file. Each step takes seconds, not hours.
If you’re a solo founder or a small shop, the time saved lets you focus on making new products instead of wrestling with a video editor.
So what’s next? Grab your best product photo, hop onto a platform like Pocket Director AI, and run the three‑step flow we just walked through. Watch the likes roll in and keep a steady posting rhythm.
Remember, consistency beats perfection. Keep the clips short, fresh, and on brand, and the algorithm will notice.
Give yourself a quick test: watch the video on a phone without sound. If the text reads clear, you’re good to go.